Hello everyone!
Hope you are all
well. In one of my last posts, I asked for advice regarding the making
of explosion markers for my little men and their vehicles. Jack from Australia
(Jacksarge’s Wargames Ramblings), in one of his comments, he suggested
me to use some metal washers and the stuffing out of pillows or old teddybears.
His full comment was the following: ’’For
explosion markers I use the stuffing out of pillows or old teddybears. Give it
a spray with matt black, but it doesn't need to be black all over. When dry,
grab a clump of the stuff and glue it to a decent sized metal washer. Once the
glue dries start applying streaks of thick paint , working from the base up.
Start with a dark red and then, orange/red; orange; pale orange & finish
with bright yellow streaks. Paint your washer at black/ grey’’. Since I
like his work and I value his opinion (same thing applies to all of you who
exchange ideas for our hobby), I decided to give his method a try.
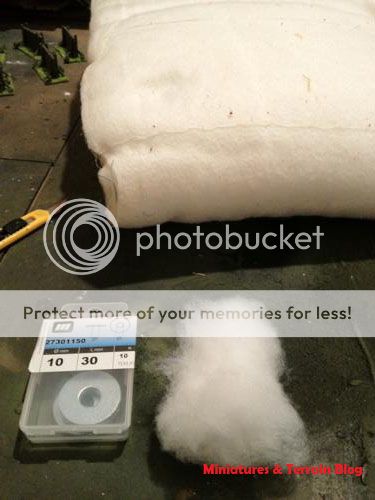
Some days ago I
found in one of my closets, a small pillow my mother has made for my flats'
couch a couple of years ago, and I wasn't using it for some months now. Being
still single in my early thirties, I try to keep my relationship with my mother
in the most optimal way I can. That means I get some food as well from her,
alongside some of her homemade pillows. She cooks very well after all!
If you want to call me a mere opportunist and a cheap bastard,
please be my guest. I'll take it as a compliment.
I took my
modeling knife, and then I practiced my skills as a butcher on the pillow's
cover (I am very happy that she won't take notice of what I did to her pillow –
she can't use a computer, so I won't hurt her feelings. It's for our hobby
after all and sacrifices must be made- I trust you understand).
So on with the
operation!
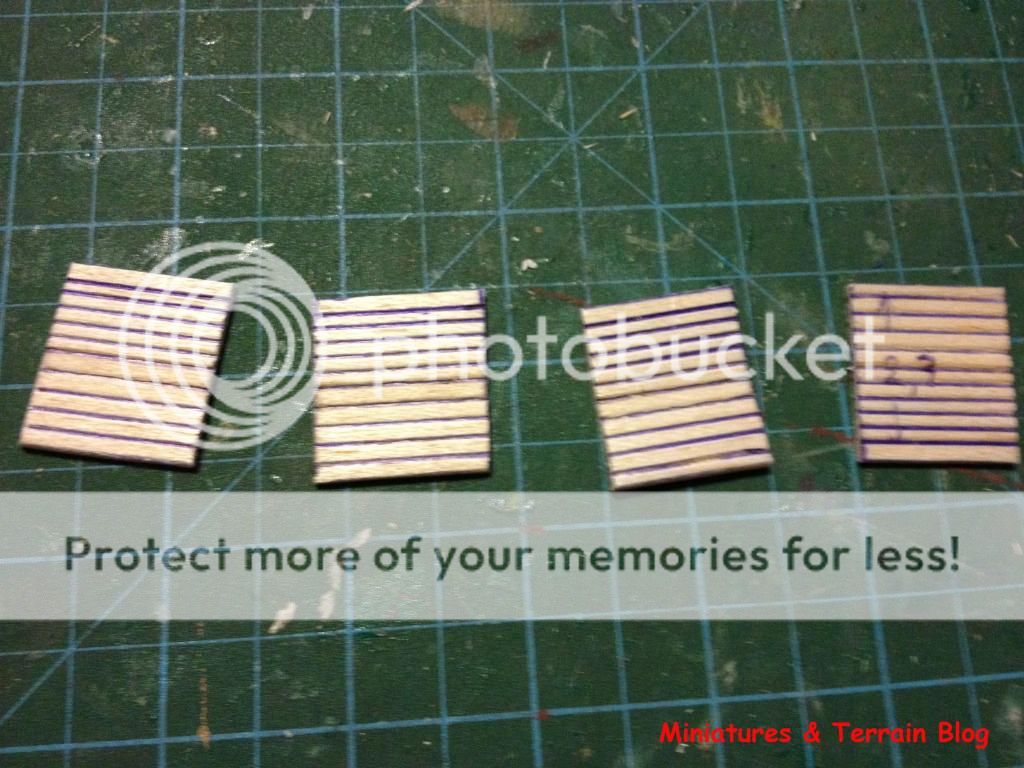
Step 1.
I took some
metal washers from a hardware store and some clumps of the pillow’s inner
stuff.
Step 2.
I then glued
these pieces (metal washers and pillow’s inner stuff – for brevity, I will now
call it ‘PIS’, and not piss…) with the help of a hot glue gun. This PIS takes
the glue very well and the bond with the washer became very strong.
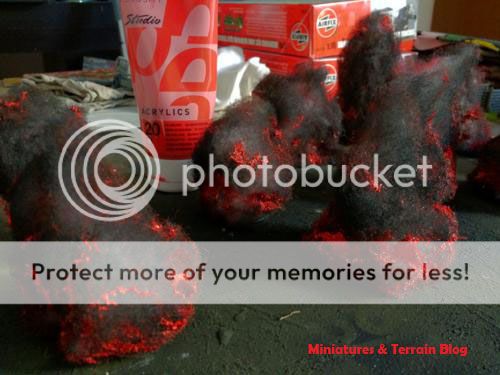
Step 3.
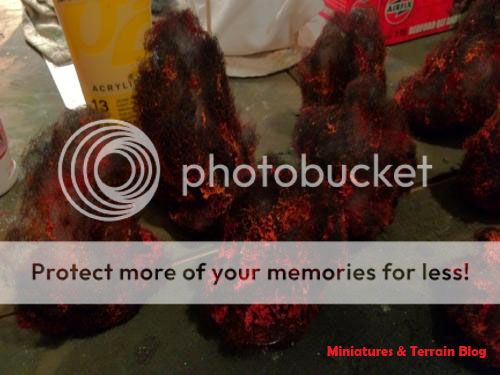
After letting
some minutes for the glue to dry, I wore my one-use gloves and sprayed the
wannabe explosion markers with a black primer spray (Army Painter’s black). I
didn’t want to get them all black, so some parts of the PIS remained with their
original colour (grayish white).
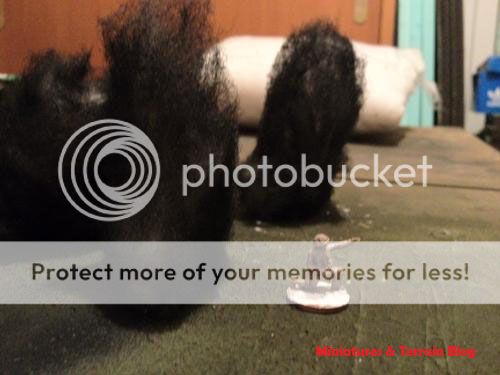
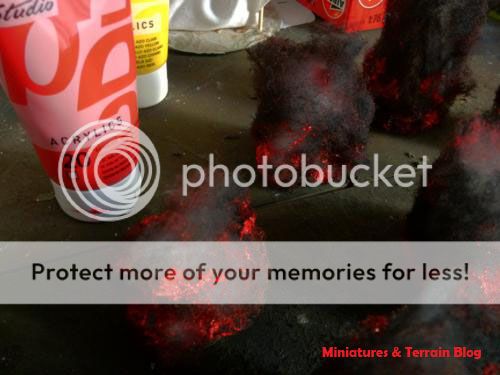
Step 4.
Basically, I
slept. And I let the spray paint to dry. I had a proper excuse. Next morning I
took my red and yellow art acrylic paints (cheap paints from a local art store
– 2 euro/1.5 quid per tube) and a medium brush and started painting these
little black smoky things. From the base (thicker streaks of paint) up, to the
end (lighter streaks) of them.
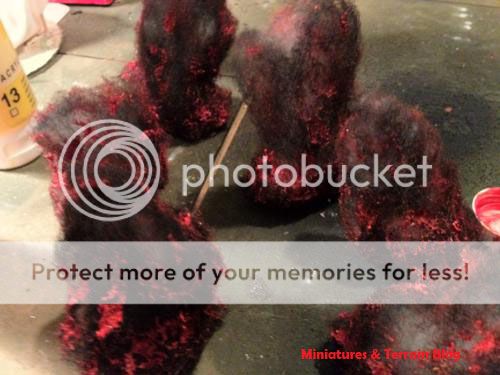
Step 5.
They got dry.
And then I got some more red (80%) and yellow (20%), and mixed them together.
This Dark Orange mix, was applied to the upper lower parts of the markers
(above the red I mean in case I am talking nonsense with my English), and on
the upper parts of them as well.
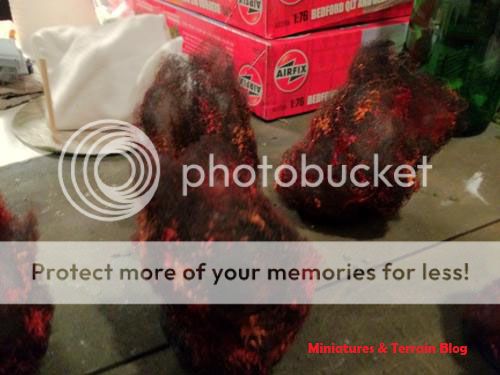
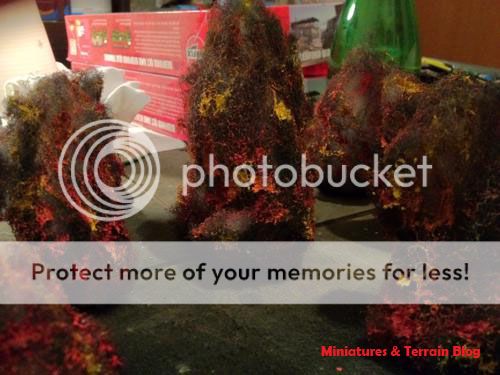
Step 6.
More yellow
(50%) to the red (50%). And Orange it went. Further colour streaks were applied
to the middle and higher parts of the washers, in order to achieve a scalable
colour progression. By now, as you can see, the washers are beginning to take
their final appearance.
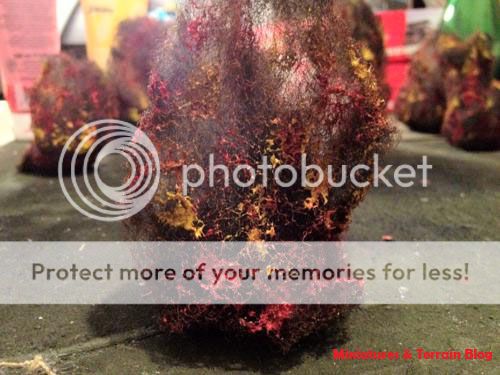
Step 7.
Even more yellow
(80%) and even less red (20%). And Light Orange applied on the ends of the PIS.
A nice colour combination, which resembles- in a way at least, some decent
explosion markers for my little men.
Step 8.
Pure yellow. And
small/light streaks of it, on the extremities of the PIS. That step was the
final one before the completion of the markers.
And that’s about
it really. I know that some of you may have found this tutorial a bit too
thorough for your taste, but my intention was to give a full display of each
step, so as to show the feasibility of this project.
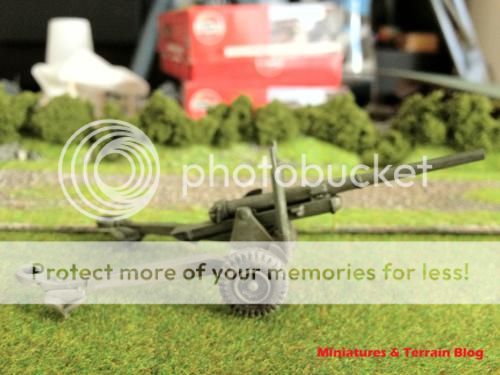
Below there is a
small display of what German mortars were capable of doing when they got in
use…enjoy. :-)
Part 1.
The Americans advance.
Part 2.
The Germans bombard...
(Forgive me for my lousy German...I had to translate the English script through Google translator. Any errors occurred weren't done on purpose.... :-) )
I hope you liked it!
Have a good rest everyone!
C&C are more than welcome! :-)
T.