Hi everyone,
While waiting my
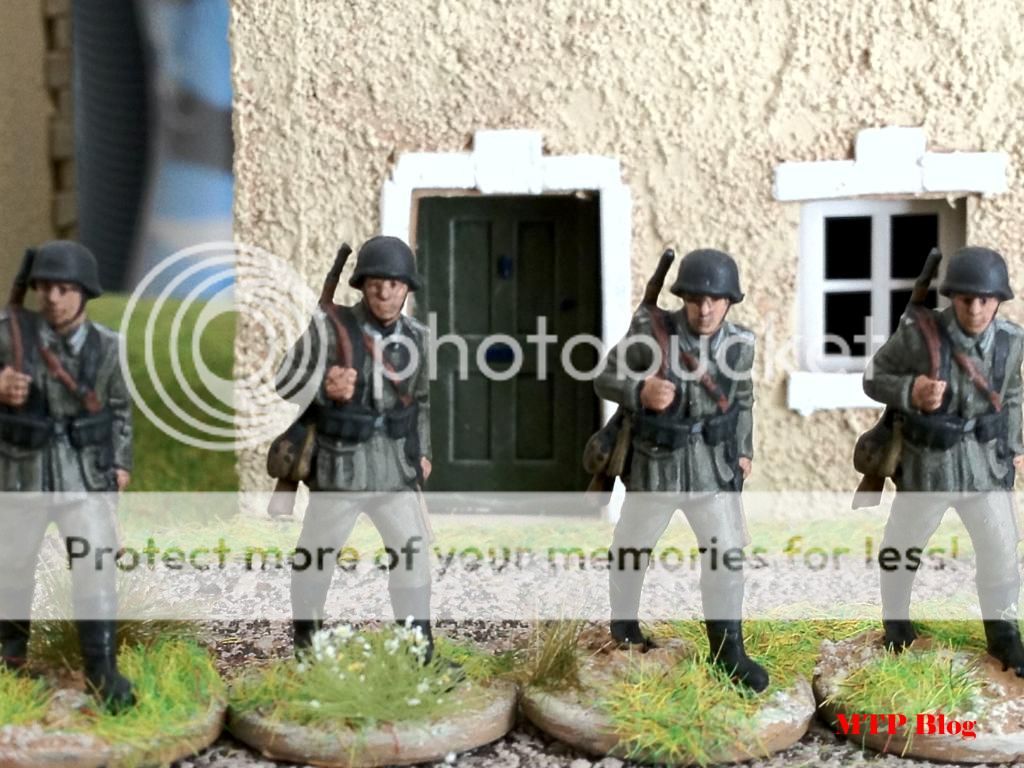
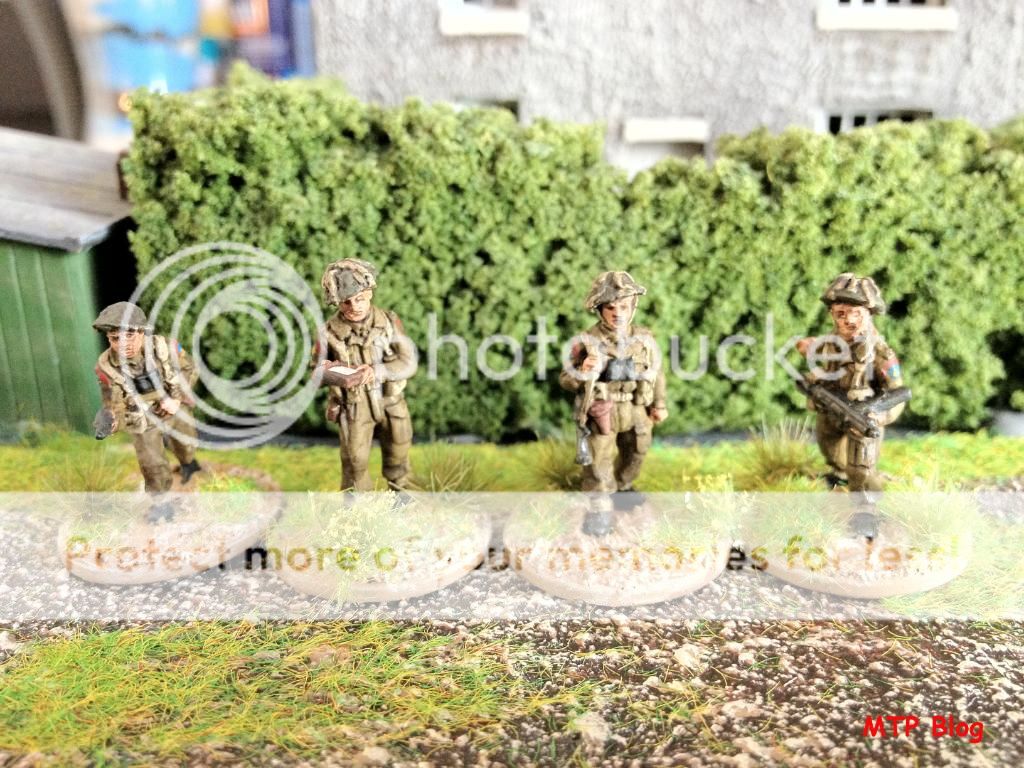
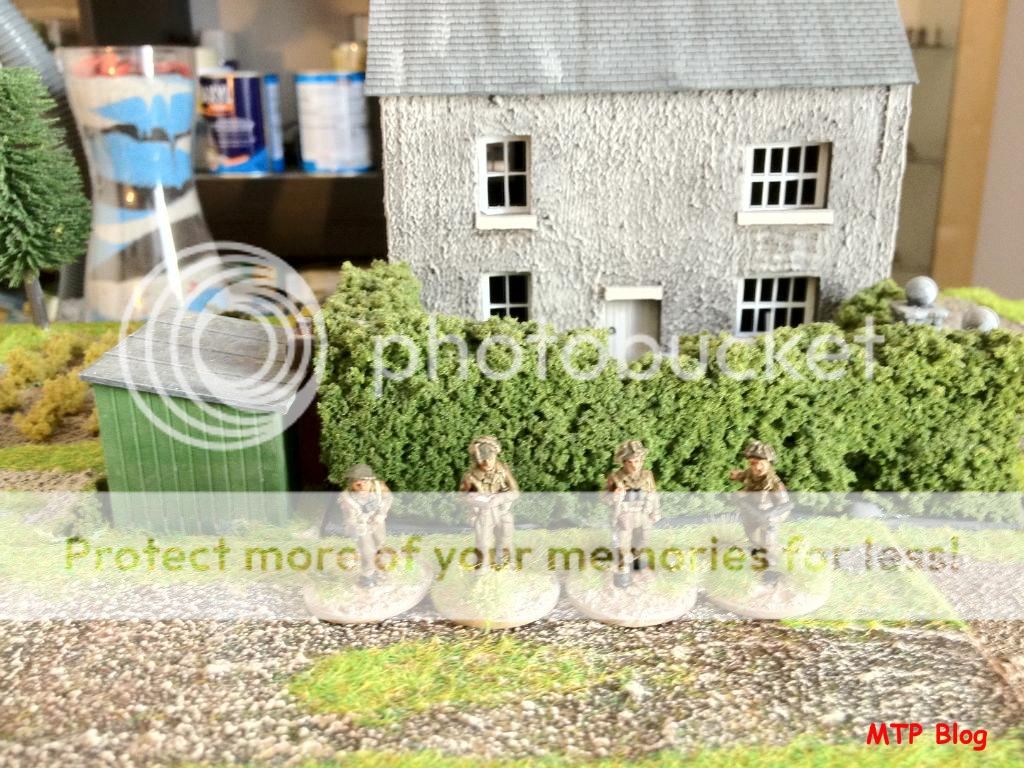
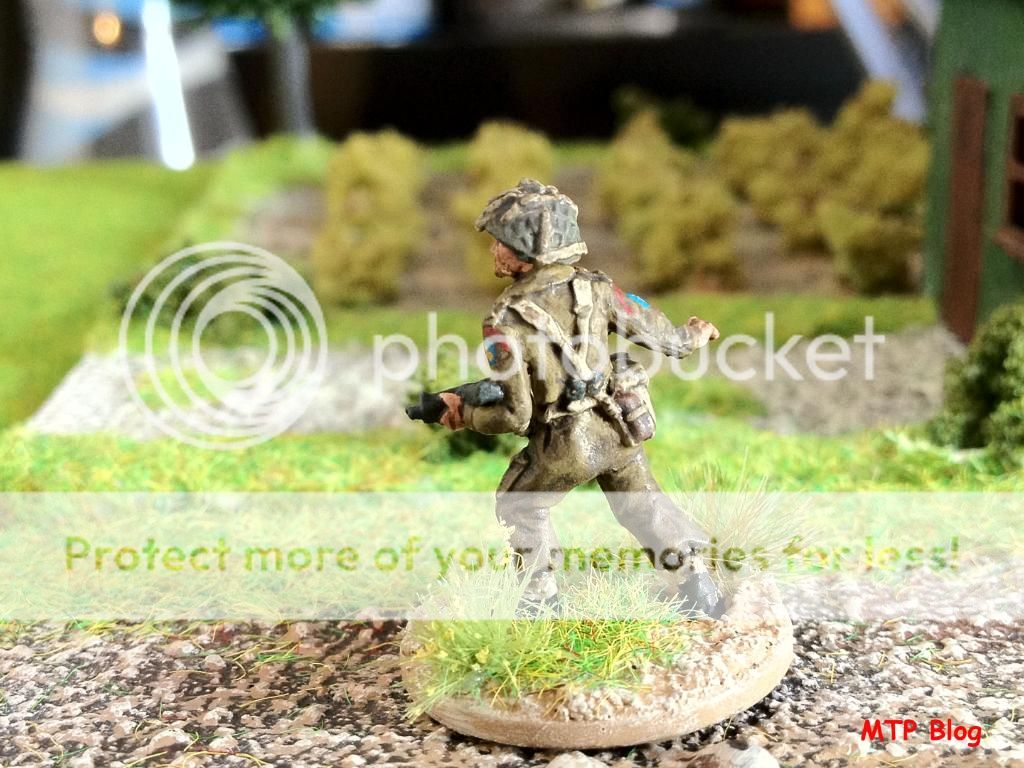
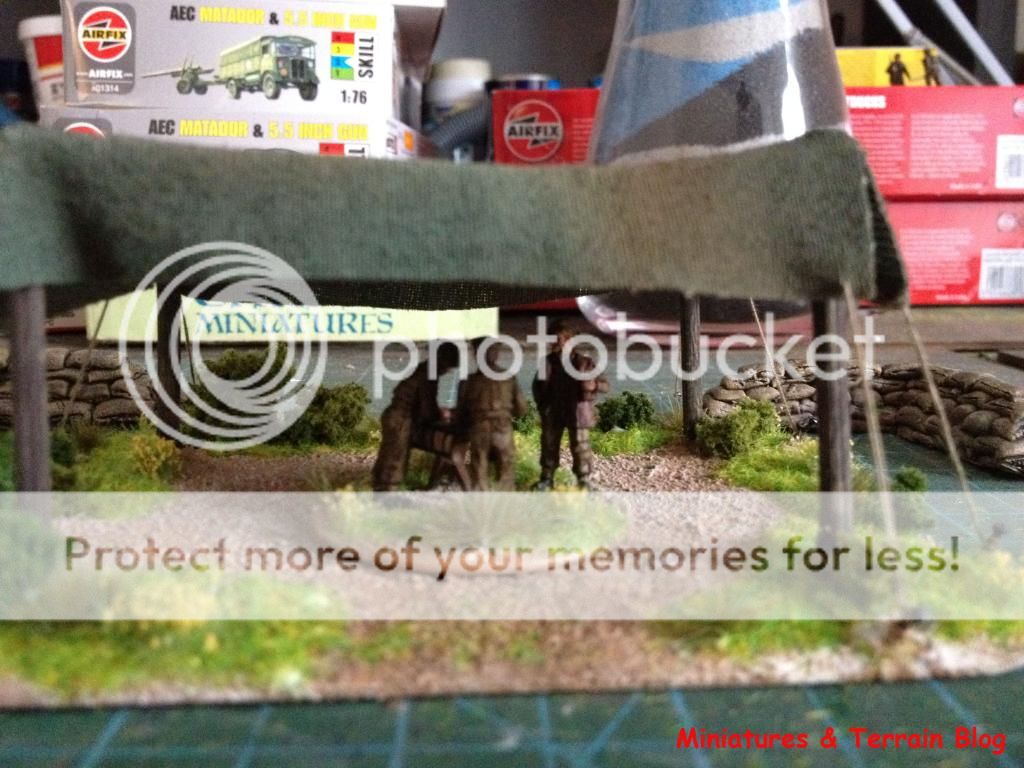
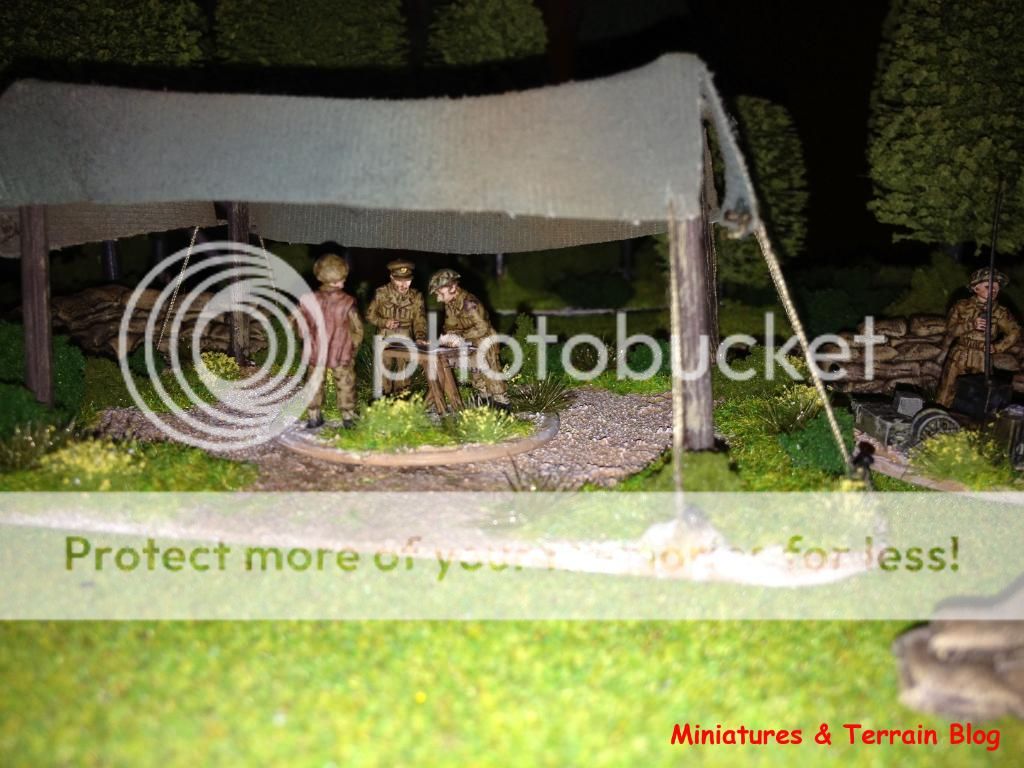
reinforcements from post to come home and help me complete my 5.5’ gun Battery,
I thought of making some small terrain pieces that would complement my unit. In
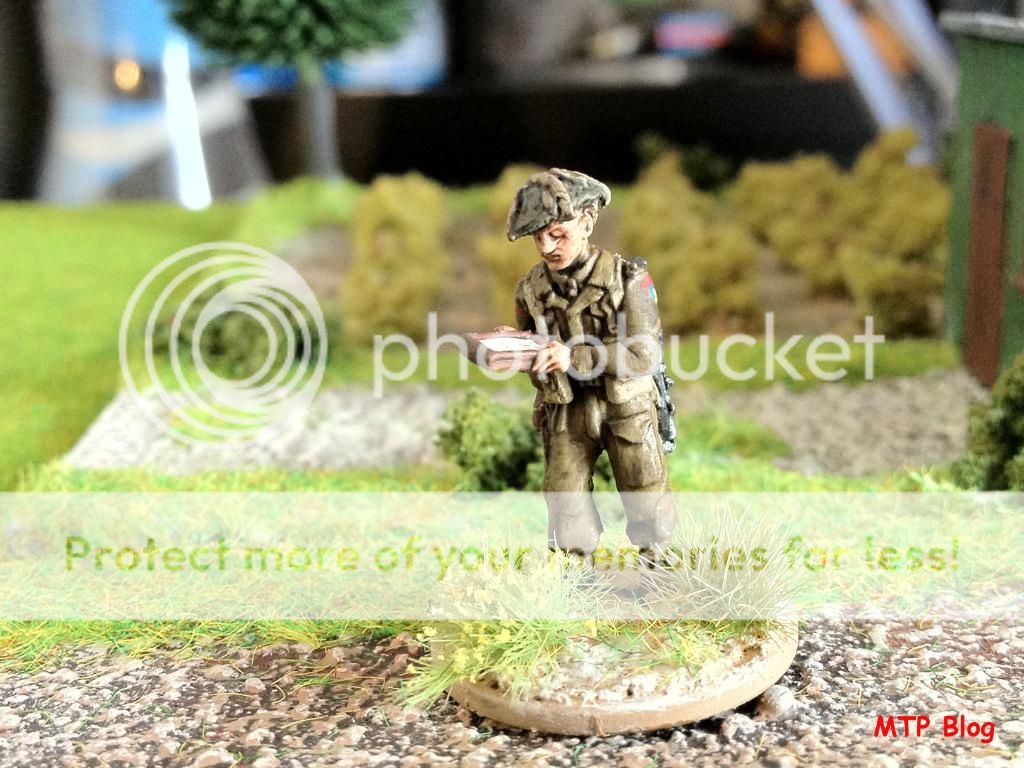
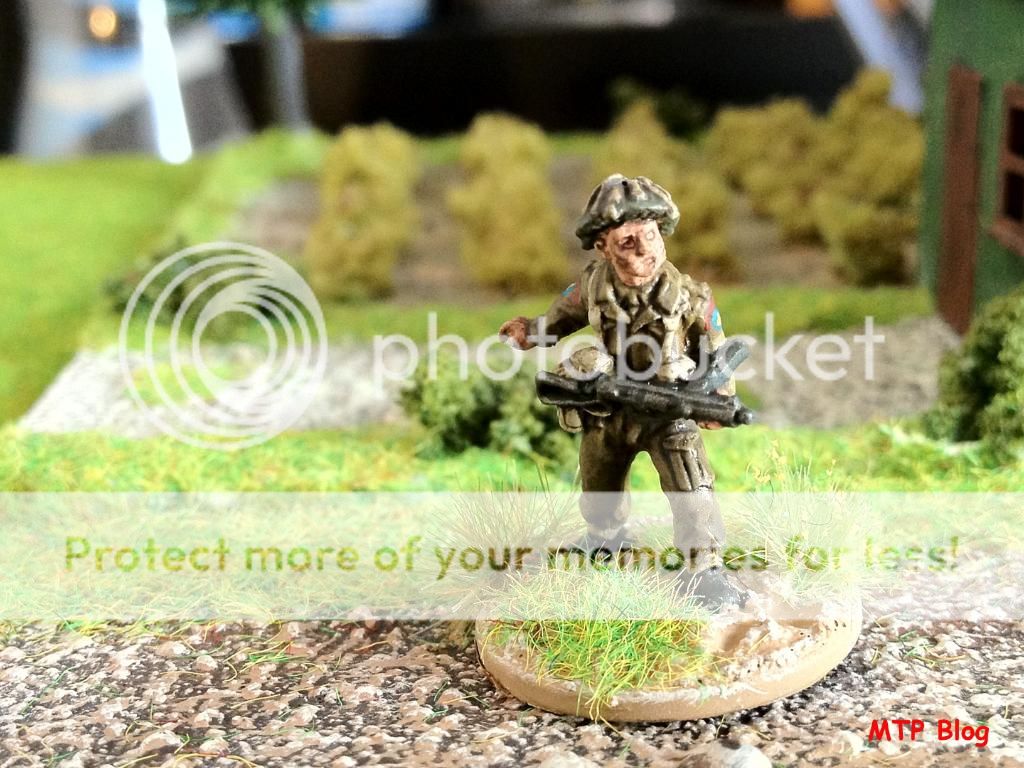
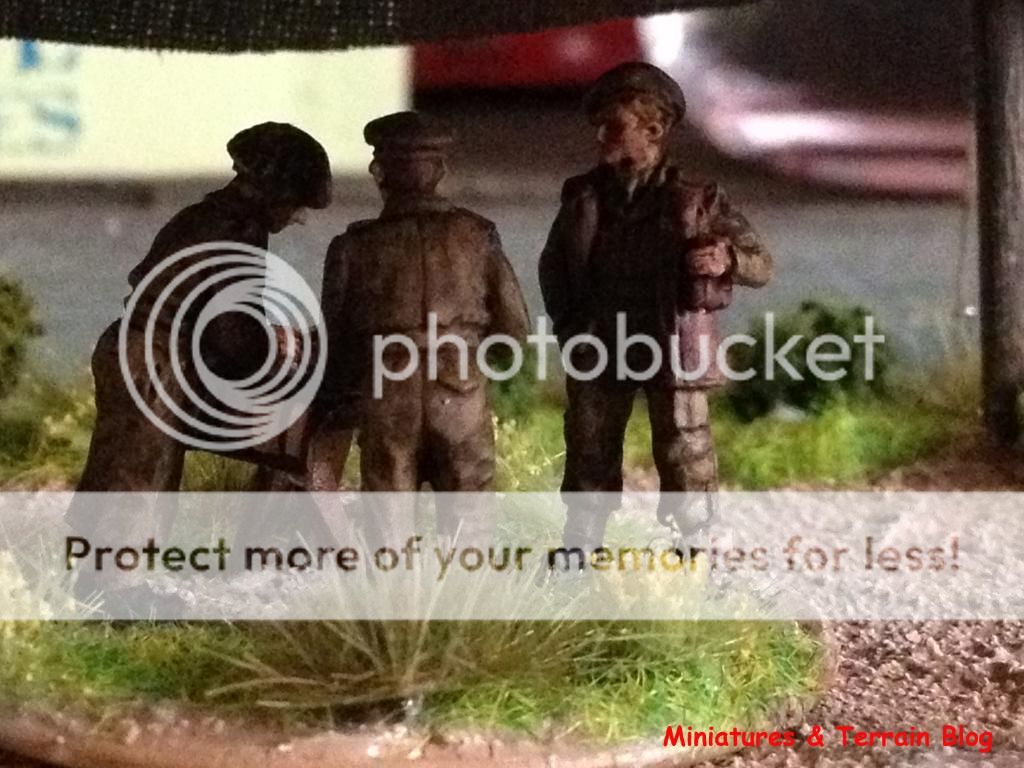
my previous post you’ve seen some photos of the command troops that
would be responsible for directing the fire of the guns, by taking coordinates
from a forward observer and his companion radio man.
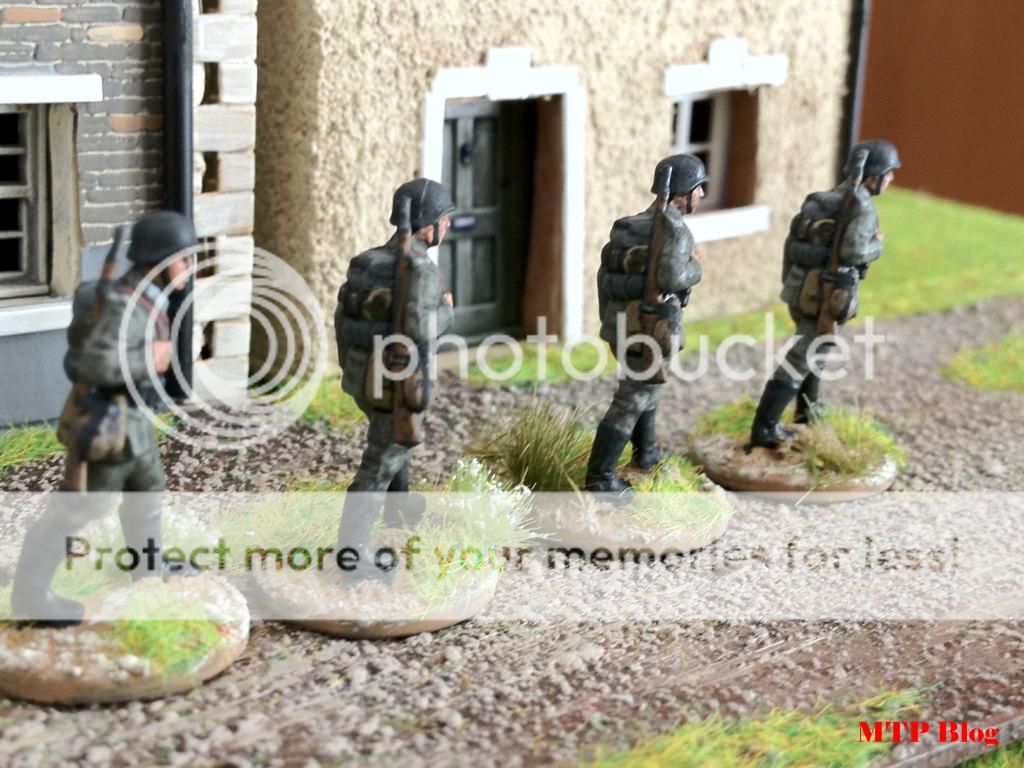
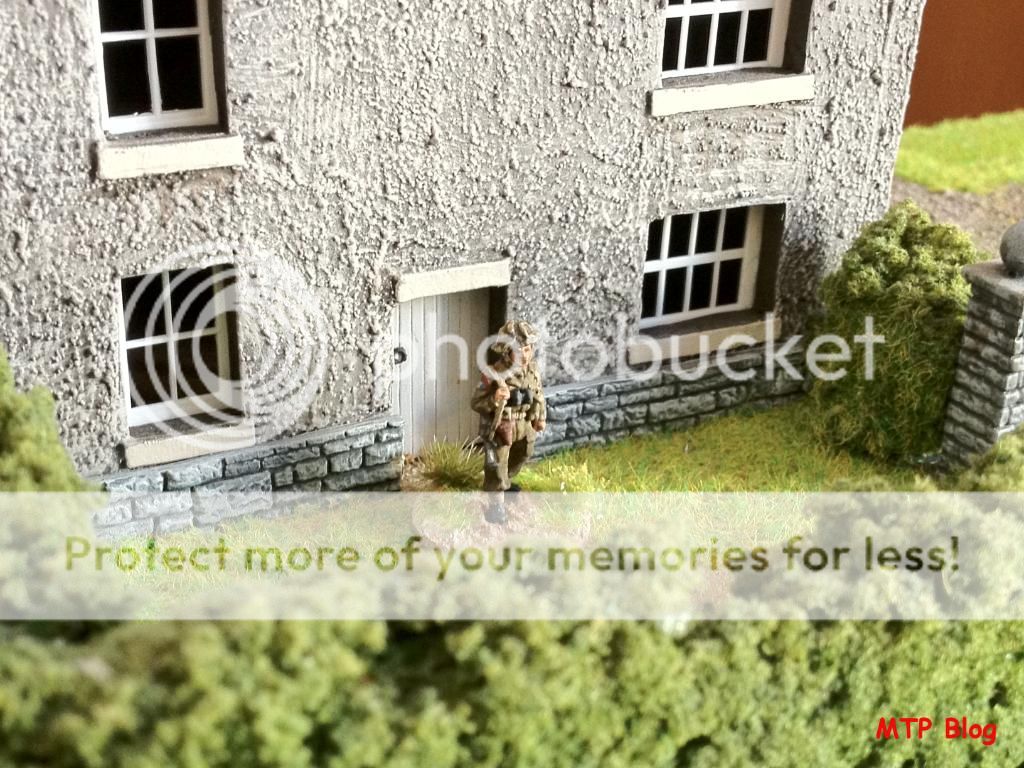
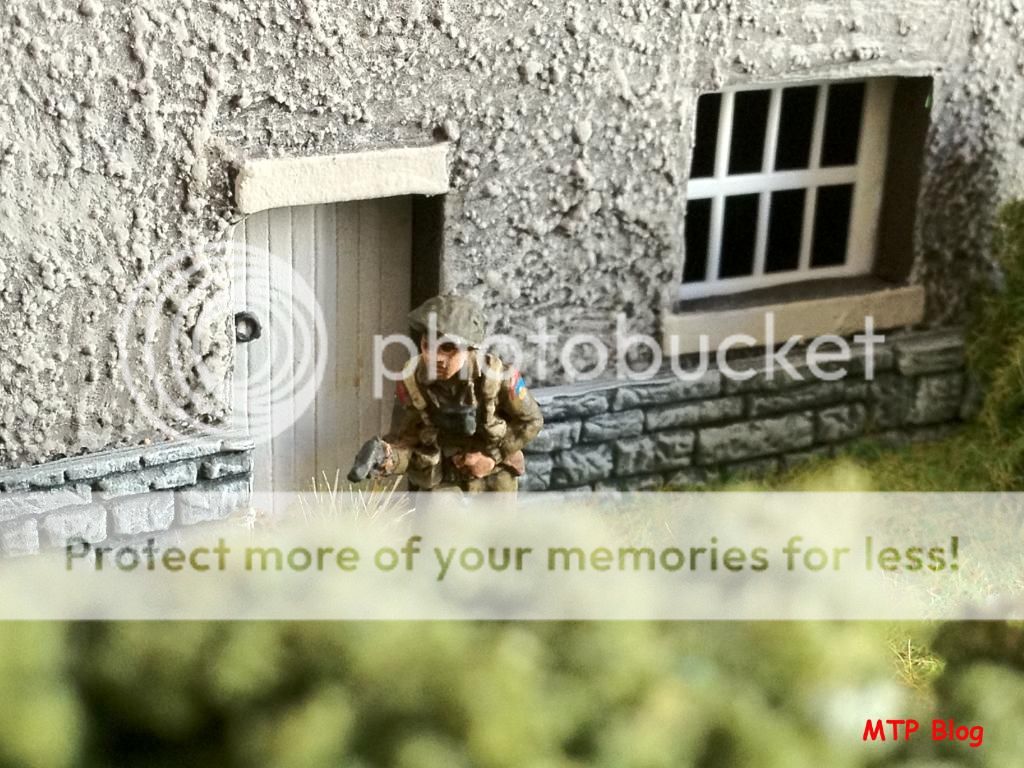
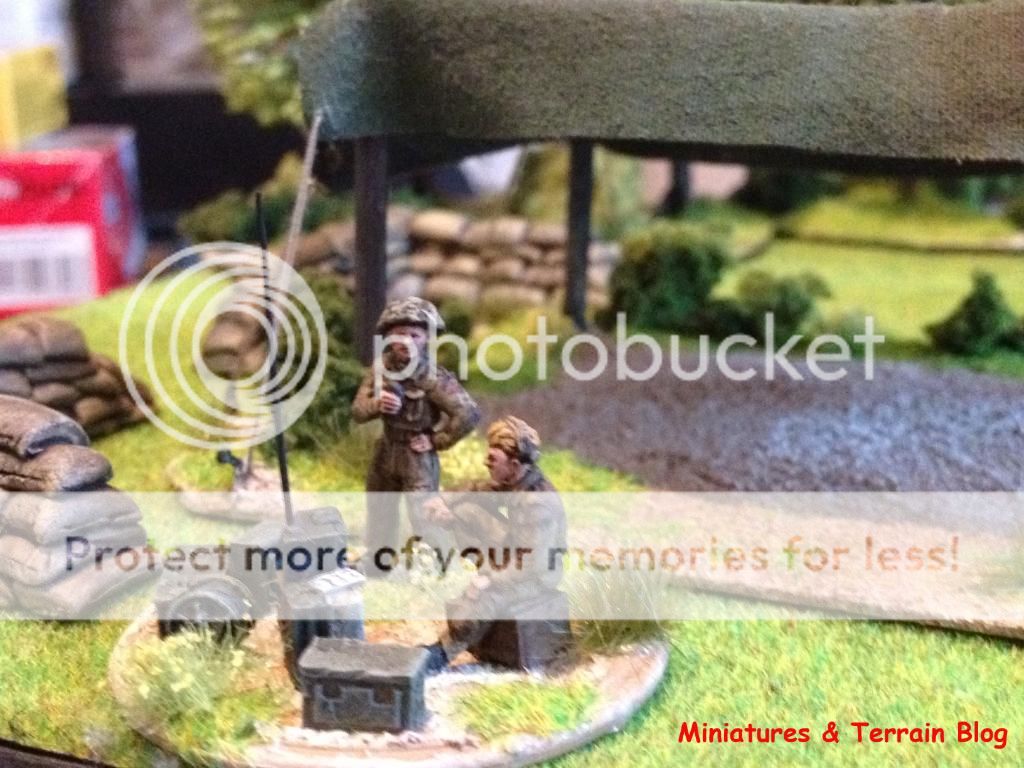
These men, would
normally be protected and covered. With this in mind I thought of providing
them the cover of some homemade sandbags (I have another special one-of-a-kind,
but it’s not yet finished – stay tuned for the forthcoming post).
For this reason
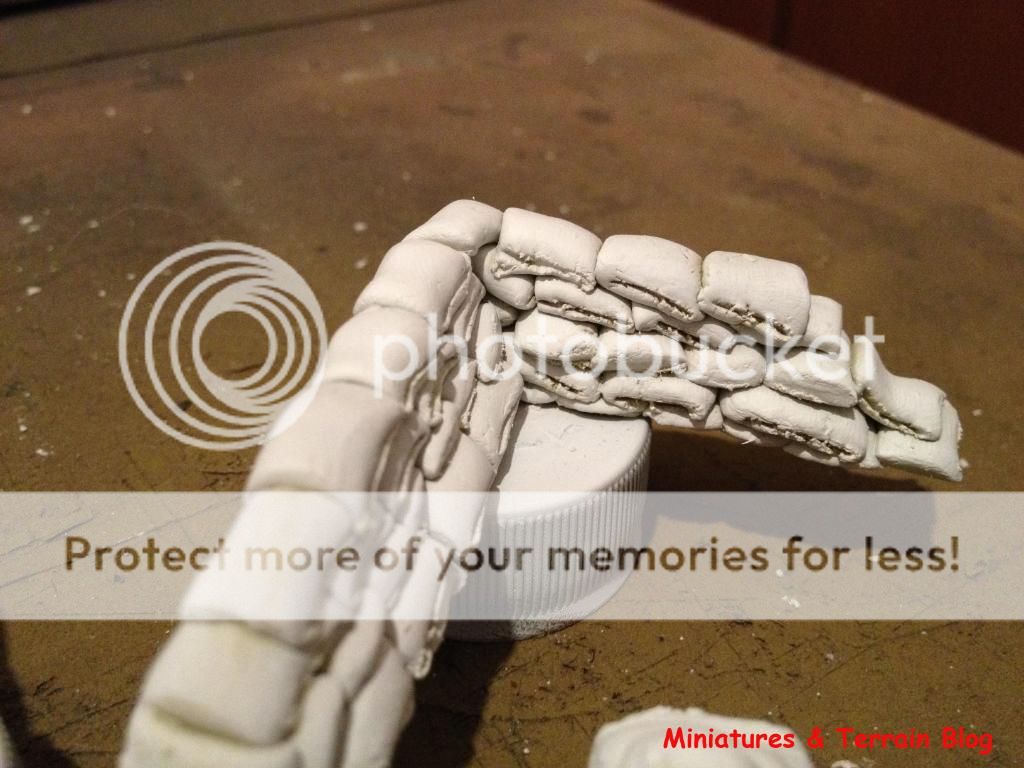
I bought a box of Milliput’s Standard Yellow-Grey epoxy putty and begun playing with it.
After combining
pieces of the two pieces provided (Yellow & Grey), I rolled a ‘’sausage’’
of some millimeters (I can’t remember its width – sorry for that – you can
always use the standard ‘trial and error’ method, depending the size of figures
you are using), and then begun cutting with my modeling knife small pieces, one
sandbag at a time.
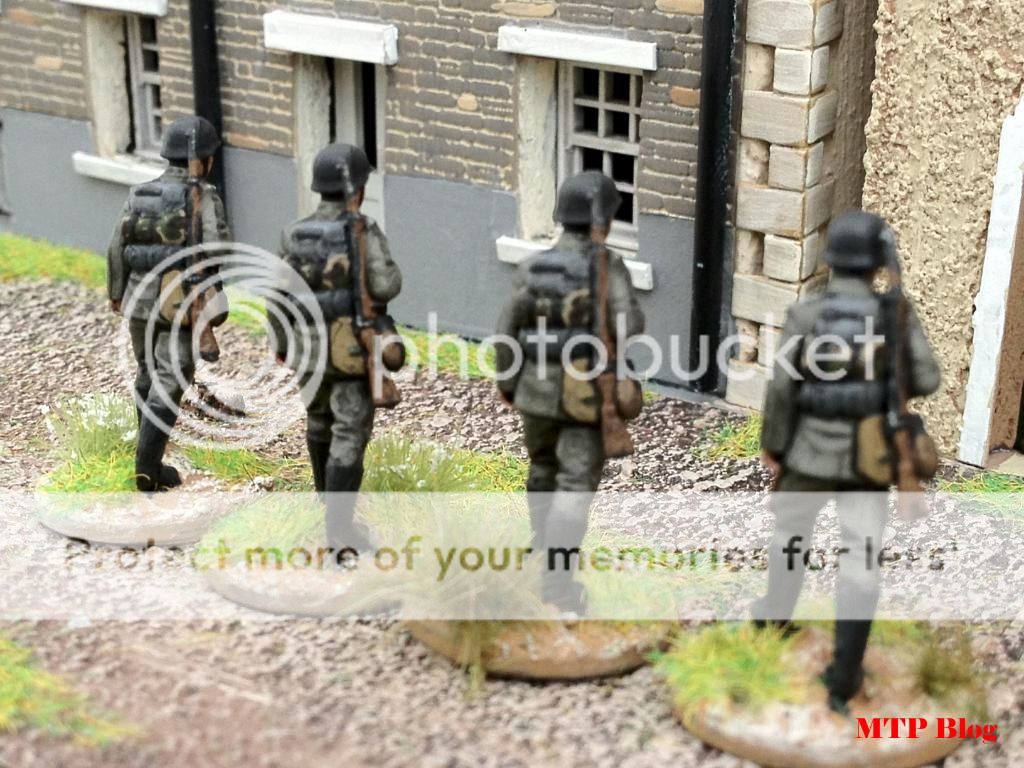
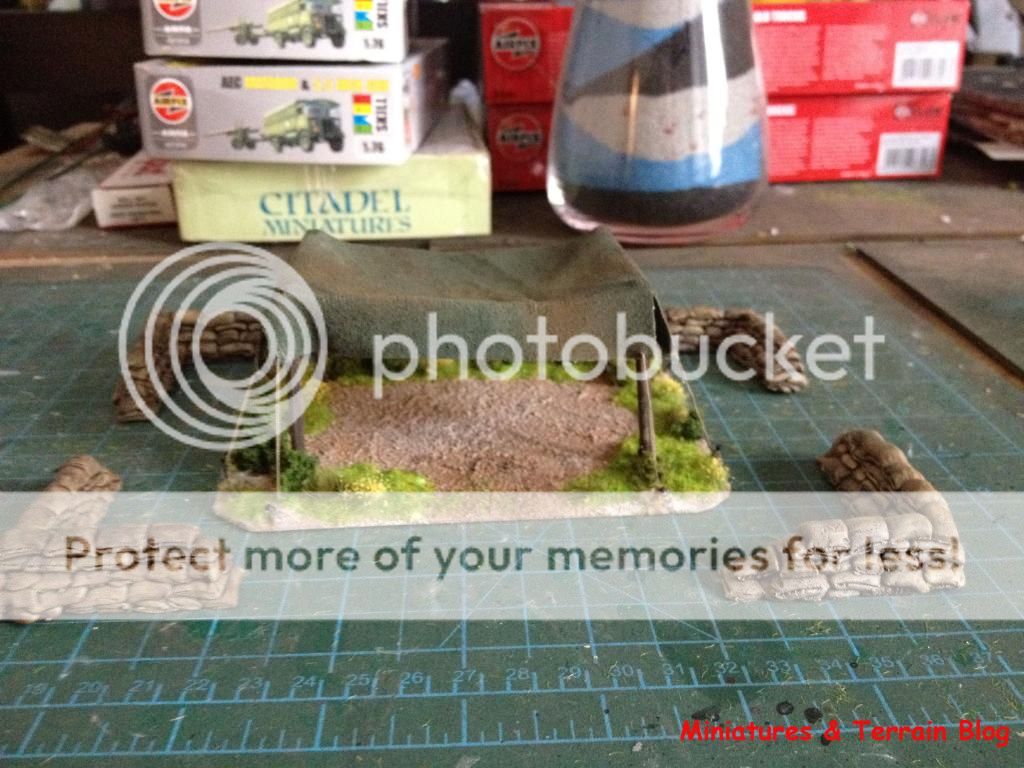
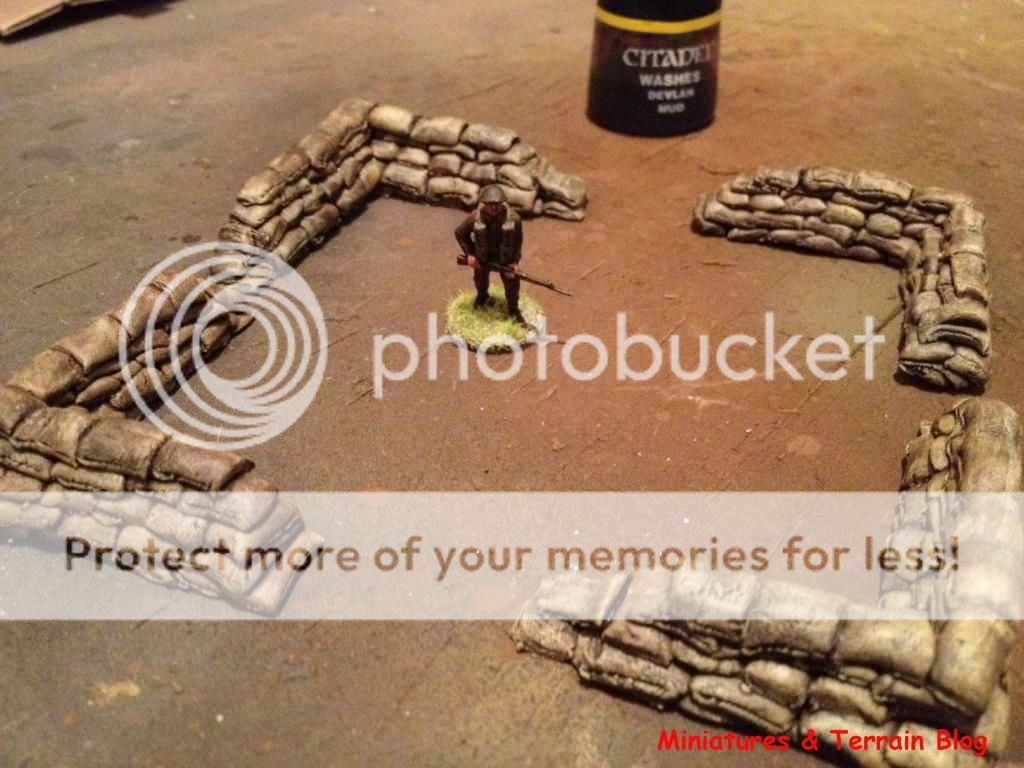
I then put them
side by side (no need for glue, as the pieces can bond together on their own)
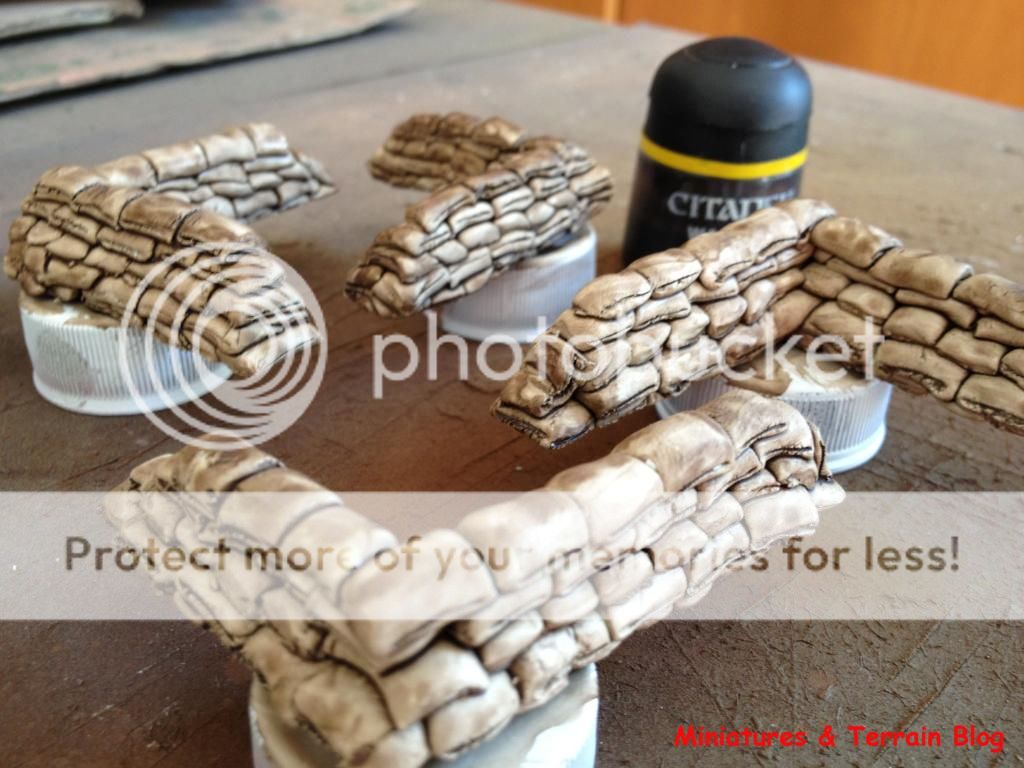
and made these four piles of sandbags. When putting one next to the other, you need to press gently their edges with you fingers, as if they are sewn, as they are in reality. Be careful not to overdo it though! While drying, I drew some marking lines
on the sides of the sandbags, with my modeling knife, in order to represent
their seams (as if I hoped to!).
You need though,
to keep your hands moist, ‘cause this putty tends to get sticky if it’s not
applied quickly. For this reason you need to have a small bowl with water next
to your working space.
It took me
almost 2 hours to make all these four ‘’corners’’, so be prepared for a rather
time consuming task.
I then let them
aside to dry (some hours are required – I begun painting them the day after).
While waiting you can always paint something you’ve been neglecting for a while
(come on admit it, we all do things like that… ;-) )
While searching
the web I came across to this page where a tutorial of how to paint
sandbags is being given. Nice page, wouldn’t you say? :-)
God,
I love internet!
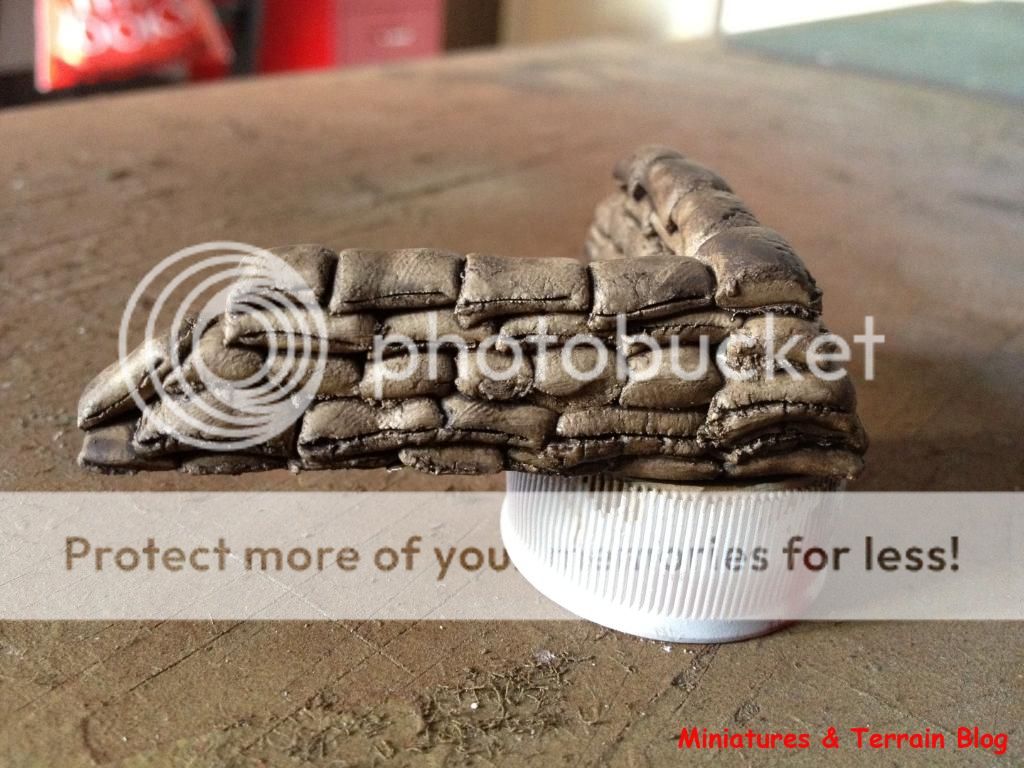
The painting
procedure I followed for my piles of sand (I didn't follow all the steps the page was suggesting to, but, it's up to you what painting method you want to use):
3.
Brown paint (diluted in water)
wash.
4.
Beige and White drybrush, to give that dusty look.
5.
Devlan Mud wash (light).
And that was it.
Easy peasy!
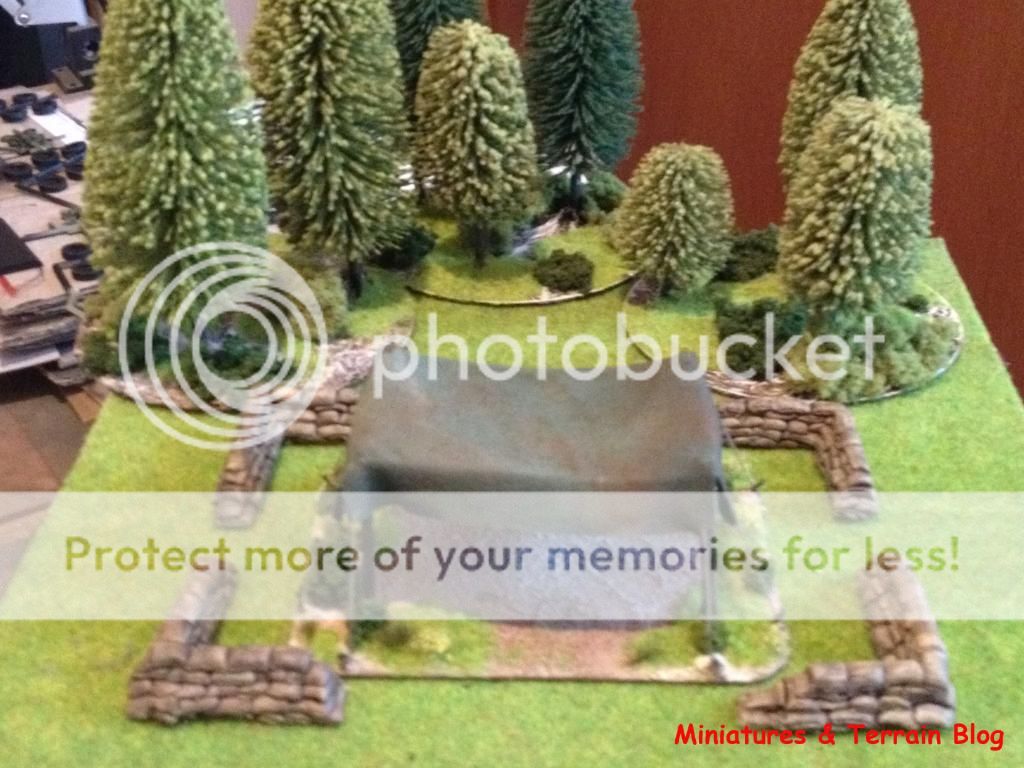
You don’t have
to pay money for buying ready made pieces of terrain. You can always make them on your own! :-)
If you have any
queries, please do not hesitate to contact me.
Have a good w/e
everyone!
T.