

Hi everyone!
Hope that Thursday found you all well.
After a public outcry, and a request from a fellow modeller to make some sandbags pieces for him, I give you the 'Sandbags Tutorial'. Here goes.
Step 1.
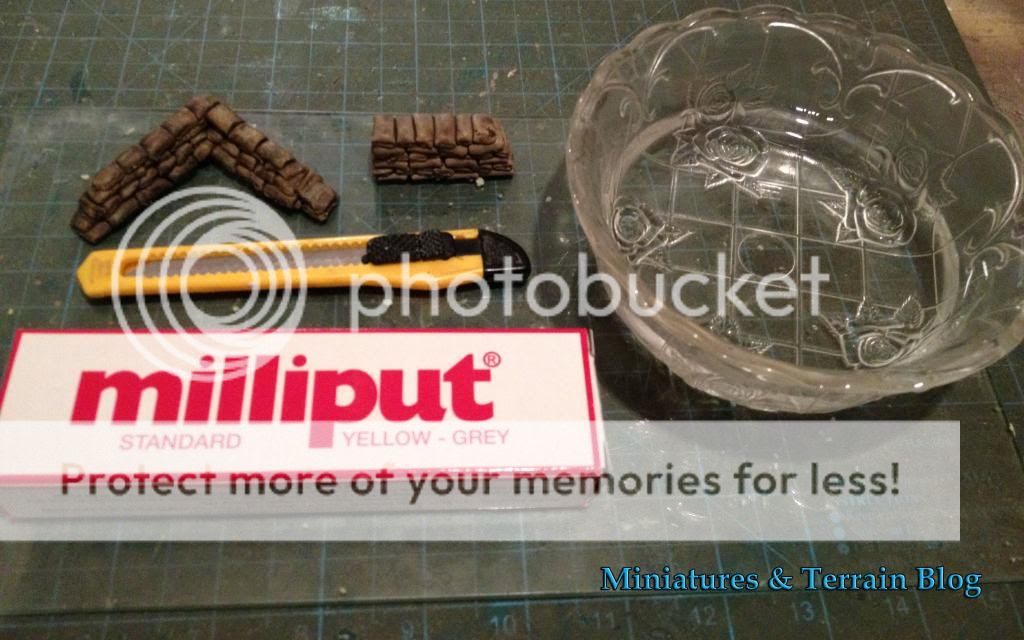
In order to make this thing right, you will need:
- Milliput putty (yellow & grey)
- A modelling knife
- A piece of glass (it helps getting out the ready pieces easily)
- Some water (it will help you, because Milliput tends to get sticky when handled). It's good to have your hands wet all the time.
Step 2.
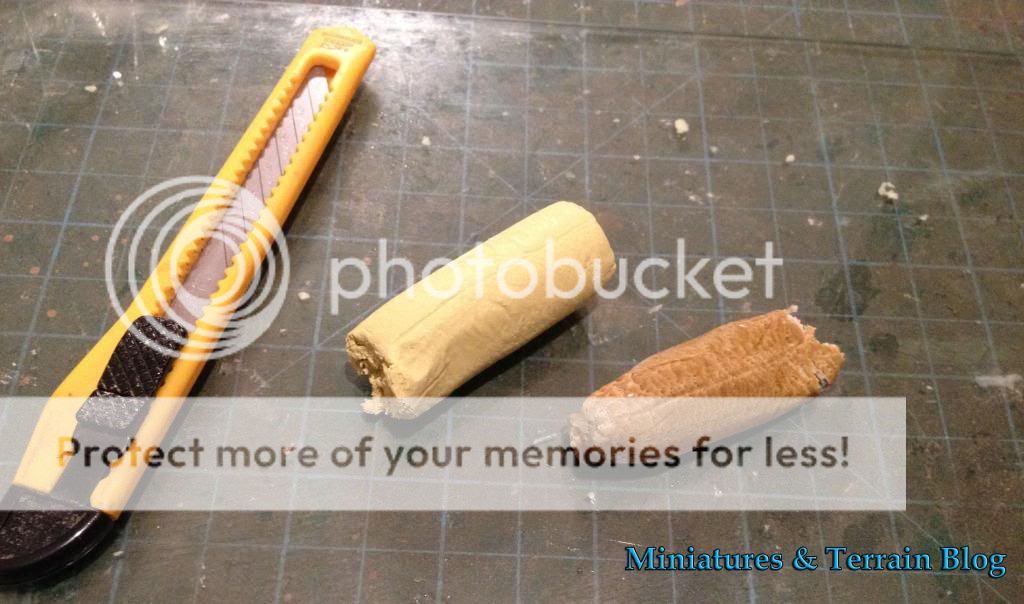
Milliput comes in two little 'sausages'. Take some equal quantities of them and start mixing them. Imagine that you are making burgers - it helps!
Step 3.
Make some thin 'sausages' of the mixed Milliput product (0,4 cm diameter) and then start cutting little pieces of 1cm length, with the modelling knife. Take every piece - yes, every piece, and bend it with your fingers on its edges, in order to represent a sandbag as it is in reality. It is a tedious task and rather time consuming, but it's worth it.

Step 4.
While doing that, start piling them up, one next to another as the photo suggests.

Step 5.
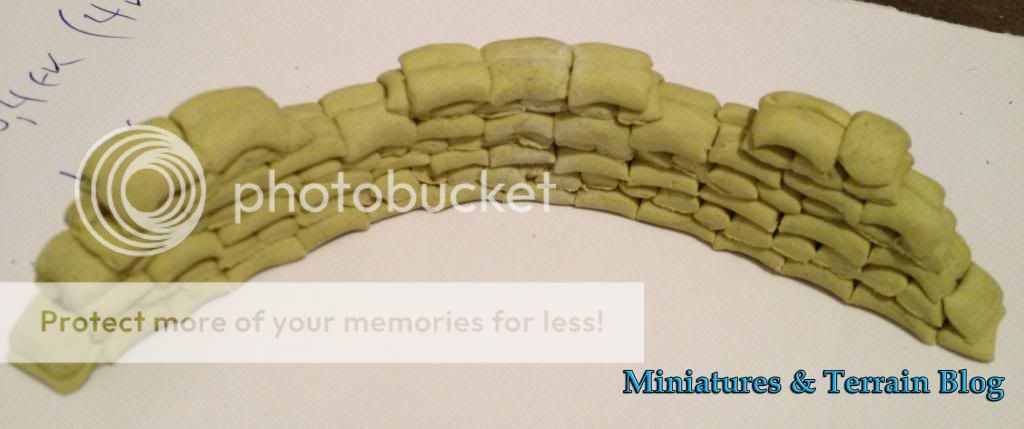
Proceed with the same procedure by placing the next layer of them vertically (I know my English is crap, but the photo will help you understand what I mean).


Step 6.
Be patient. Come on, carry on - on the double! See where it leads to? If you want to add some extra detail, take the sharp edge of your modelling knife and make round 'cuts' on the sandbags' edges.


Easy wasn't it? The basic thing is to keep your hands humid/wet for to be able to adjust every little piece accordingly. It helped me!
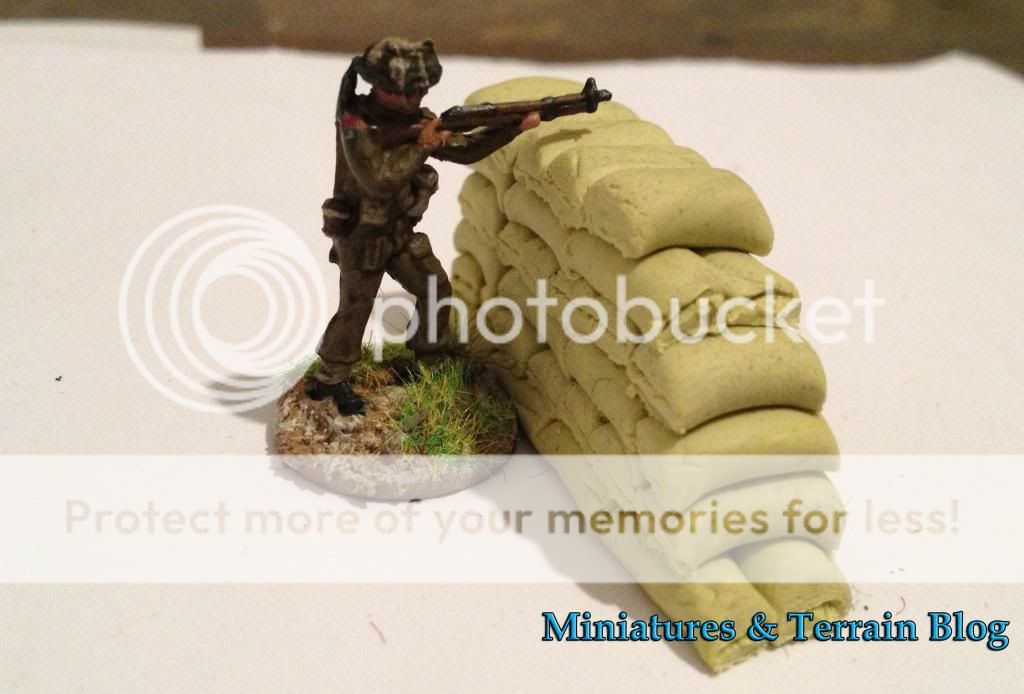
See some additional photos of the finished pieces (one for a building and one curved one).


Have a great Thursday night everyone! :-)
T.


Thanks for sharing, very nice!
ReplyDeletePhil.
Thanks, this was good to read...going to try this tonight....thanks again you just filled an empty hour!
ReplyDeleteVery nice tutorial my dear Thanos. I made homemade dumplings last night for dinner and they look a great deal like this. Now if I could do that at a very small scale, I could make sandbags:)
ReplyDeleteExcellent tutorial!
ReplyDeleteSimple yet effective thanks buddy
ReplyDeleteThanks for the How To
ReplyDeleteian
They look like you could make a silicone mold of those and cast as many as you like in plaster. That would save time on a large project.
ReplyDeleteI've never believed making sandbag is so easy to make.
ReplyDeletePutting them one by one makes them more realistic
These look superb, what a great job.
ReplyDeleteGreat modeling, Mr. T.! Thanks for taking us along on your how-to-do-it tour.
ReplyDeleteNice one. Just as good for mealy bags for zulu wars stuff too.
ReplyDeleteExcellent tutorial Thanos!
ReplyDeletePS. I love what you did with your blog!
FF
I didn't realise it was so simple! But what a fantastic effect! Well done Thanos!
ReplyDeleteanother great how to from the man who knows how to do it best. or the man who knows how to make a how to best
ReplyDeleteGreat tutorial T! I you make them a slight bit bigger you can create food supplies. Similar to what G.E.M. did.
ReplyDeleteVery nice tutorial Thanos! I will have to give this a go!
ReplyDeleteGreat! Thanks for the illustrated tutorial.
ReplyDeleteCheers
Just what the doctor ordered Thanos. Nice going!
ReplyDeleteThanks mate.
Brilliant tutorial T, very usefull indeed mate.
ReplyDeleteHi Thanos, thank you for such a great post. I will definitely try it out. The only question I have is, why do you make round cuts in step 6?
ReplyDeleteMost effective. Another project to make my wife roll her eyes.
ReplyDeleteThank you for your time on this very interesting
ReplyDeleteGACOR PARAH ! DIKASIH MENANG TERUS ^^
ReplyDeleteWEB DEPO RECEH DIKASIH TIAP TIAP HARI WD.
UDAH NGERASAIN, BISA CEK SENDIRI LINK DAN SOSMED NYA.
CARI WEB GACOR ? LENGKAP DENGAN RTP ? LENGKAP SEMUA GAME ADA ? SLOT SLOT TERBARU DAN BOCORAN RTP TIAP JAM ADA.
DAFTAR DAN DAPATKAN BONUS NYA.
✅BONUS NEW MEMBER 100%!
✅BONUS DEPOSIT 10% SETIAP HARI !
✅DEPOSIT PULSA TANPA POTONGAN
✅MINIMAL DEPOSIT 20rb
.
.
BONUS DAPAT DI DEPAN YA
WA : +6282 1848 25944
SITUS : GUSTISLOT. INFO